
Installation Guide
Correct placement, timing and securing of reflective ground cover are essential to getting the best practical performance from the material. This guide covers the key considerations for installing, maintaining and removing AgriSun reflective ground cover in commercial orchards.
Reflective Orchard Ground Cover Installation
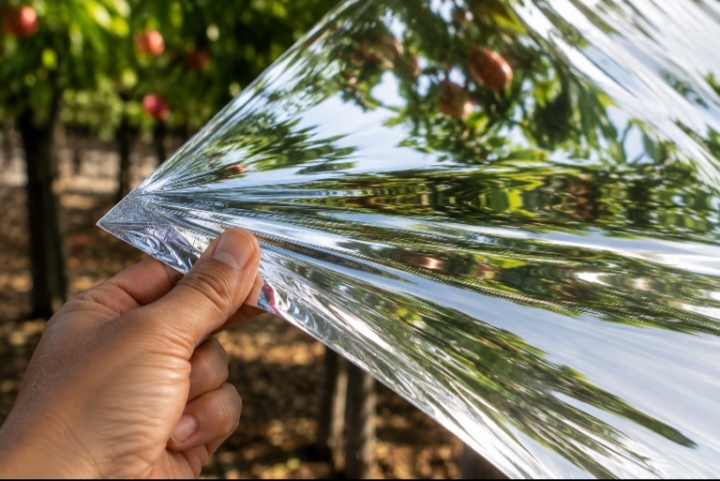
STEP 4 — INSPECT
Check the installation periodically and after strong winds. Re-secure loose areas and remove excessive debris from the reflective surface where practical.
STEP 5 — DURING THE PRE-HARVEST PERIOD
Keep the material correctly positioned while normal orchard activities continue. Avoid driving machinery over the film or allowing equipment to snag or puncture it.
STEP 6 — REMOVE
After use, carefully lift and roll the material. Follow the applicable handling, storage, reuse or disposal recommendations for the specific product supplied.
IMPORTANT NOTICE
Every orchard is different. Installation should be adapted to the specific crop, orchard layout, ground conditions, irrigation system, wind exposure and equipment used within the block.
The guidance provided here represents general installation principles. Final placement, timing and securing methods should be determined according to the conditions and management requirements of the individual orchard.
Proper installation is essential to maximise the effectiveness of reflective orchard ground cover. Always follow your orchard management programme and install the product when fruit enters its final colour development stage.
STEP 1 — PREPARE THE ROW
Clear excessive weeds, branches, stones or debris that could damage the film or prevent it from lying evenly. Check irrigation lines and orchard access before installation begins.
STEP 2 — UNROLL & POSITION
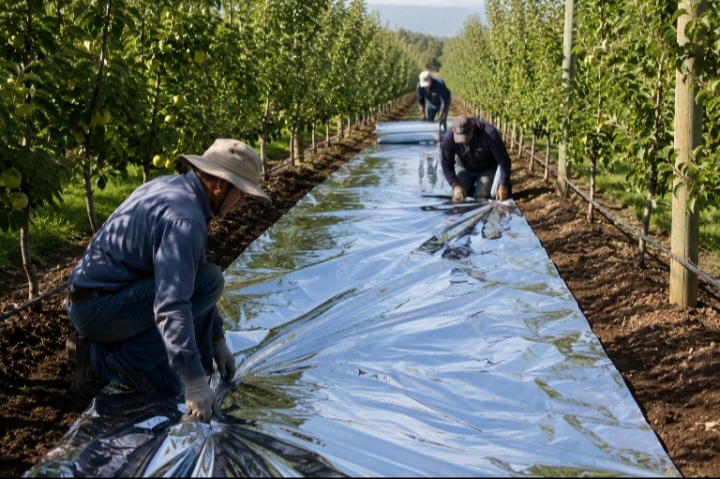
Unroll the material along the orchard row with the reflective surface facing upward. Position it to maximise exposure to available sunlight while keeping normal orchard operations in mind.
STEP 3 — SECURE
Secure the material using the fixing method appropriate to the orchard and site conditions. Pay particular attention to edges and exposed areas where wind may lift the film.
Best Practice Tips
- Choose your installation day carefully. Avoid laying film during strong or gusty wind conditions.
- Plan around orchard operations. Consider irrigation lines, machinery access and harvesting activity before positioning the film.
- Protect the reflective surface. Minimise unnecessary foot traffic and avoid dragging equipment across the material.
- Watch exposed areas. Row ends and open sections of the orchard may require additional securing where wind exposure is greater.
- Keep the surface exposed. Excessive leaves, soil or debris can reduce the amount of sunlight reaching the reflective surface.
- Evaluate placement by block. Row spacing, canopy structure and orchard layout differ — placement should suit the individual block.
Installation Period
When to Install
Reflective orchard ground cover is typically installed during the final weeks before harvest, when fruit colour development and maturation are progressing.
Published research and commercial orchard trials have used reflective ground covers during defined pre-harvest periods, with installation timing varying according to crop and cultivar.
For apples and other colour-sensitive fruit, timing is generally aligned with the period of final colour development leading into harvest.
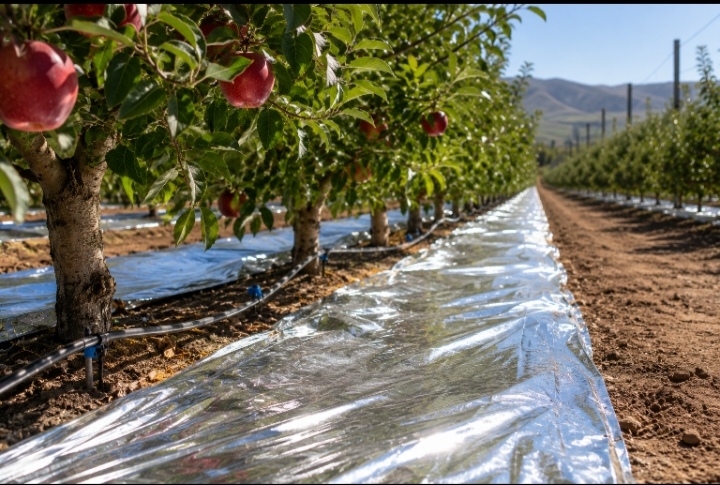
Growers should consider the cultivar, maturity stage, expected harvest date and conditions within the individual block when determining the most appropriate installation timing.
Correct timing allows the reflective surface to be in place during the critical final stages of fruit development.

Suitable Crop Types
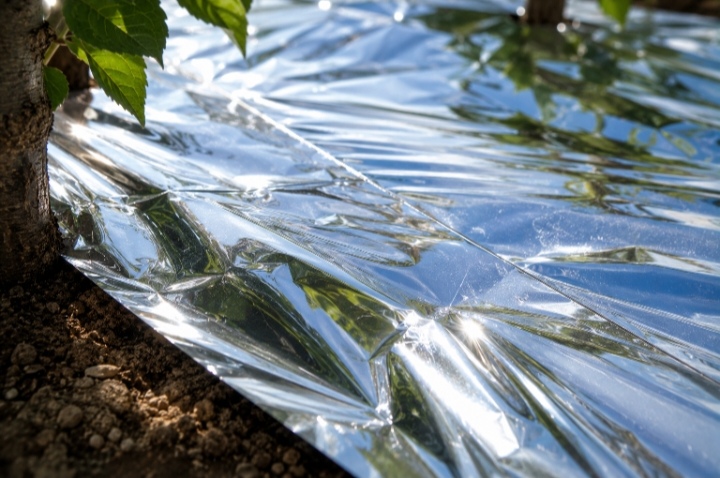
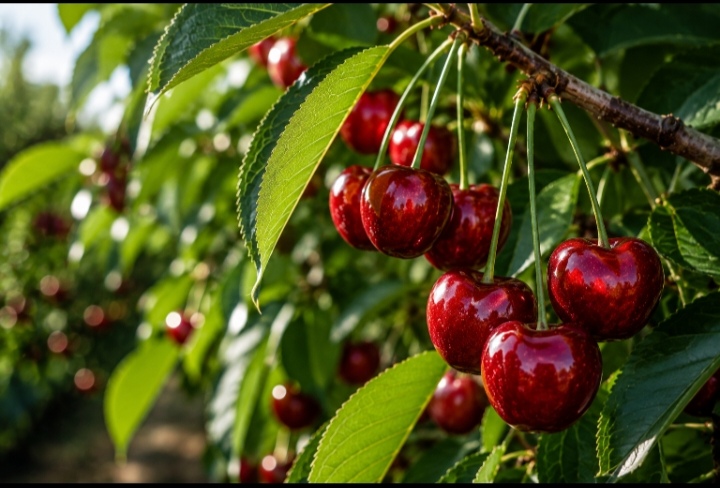
AgriSun reflective ground cover is suited to commercial fruit crops where pre-harvest light management forms part of the production strategy Apples • Pears • Cherries • Peaches • Nectarines • Plums • Apricots • Table Grapes. Installation requirements can differ between tree-fruit orchards and vineyard systems, particularly in relation to row width, canopy architecture, trellis design and machinery access. The crop may change. The installation principle remains the same: position the reflective surface where it can receive available sunlight and work effectively within the production system.

FROM THE ROLL TO THE ROW
INSTALLATION WITH THE ORCHARD IN MIND
Reflective ground cover is installed during one of the busiest periods in the orchard calendar — the weeks leading into harvest.
During that time, irrigation continues, orchard teams still need access to the rows, machinery may still move through the block, and normal orchard management cannot simply stop. The film therefore becomes part of the orchard at a time when access, timing and efficiency matter most.
Reflective Film Under Shade & Hail Nets
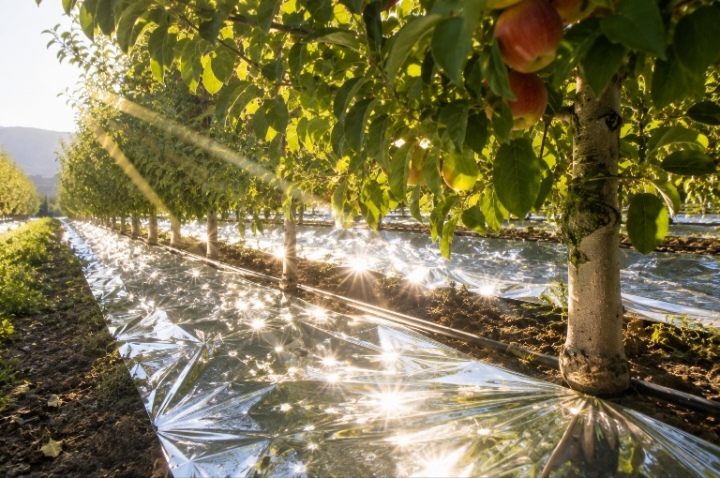
Protective netting changes the orchard light environment by reducing and diffusing incoming sunlight — but it does not eliminate the opportunity to manage the light that remains. Reflective ground cover can be used beneath shade and hail netting, redirecting available light from the orchard floor back into the fruiting canopy. The effectiveness of reflection under nets is influenced by factors such as net colour, shading percentage, canopy density and the amount of sunlight reaching the reflective surface. The principle is simple: the film can only reflect the light that reaches it.
An orchard canopy is a three-dimensional light environment. Tree height, canopy width, training system, row spacing and row orientation all influence how sunlight enters the block and how shadows move throughout the day. As the sun moves across the sky, the area of orchard floor receiving direct sunlight changes. That matters because reflective ground cover is most effective when light can actually reach its surface before being redirected upward. Canopy architecture also determines where that reflected light travels. A narrow vertical canopy interacts with upward-reflected light differently from a broad, spreading canopy. This is why film placement is more than simply laying material beneath a tree — it is about understanding the relationship between the sun, the orchard floor and the shape of the canopy above it.
Film Placement & Orchard Architecture